
Settings
The Settings menu in the Mobile Office app allows you to personalize how the app works for you — from call preferences and queue selection to notifications and account info.
Whether you're an agent, team lead, or field user, understanding your settings ensures smooth, efficient communication within the Genesys Cloud environment.
1. Access your Settings#
- Tap the Settings icon ⚙️ in the navigation menu.
2. Connection#
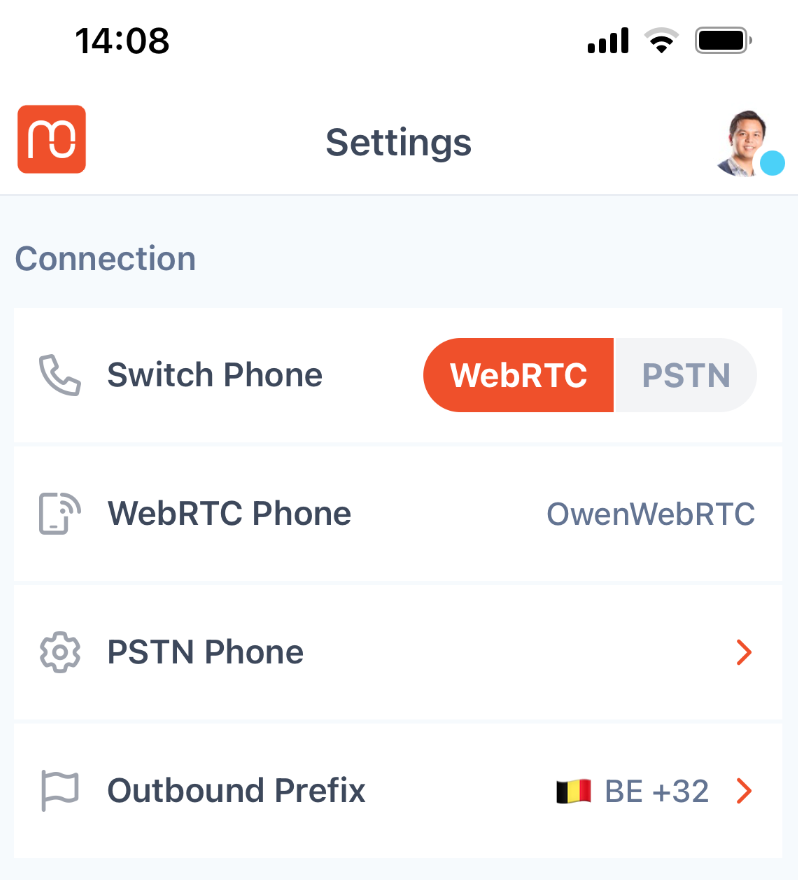
By default, Mobile Office uses WebRTC (internet-based calling) for the best possible voice quality. However, if you're in an area with unstable or weak internet, you have the option to switch to PSTN (cellular network).
2.1 How to Switch#
- Tap PSTN phone and search for the name of your PSTN phone. Your administrator shares this name with you.
- Select the phone and go back to settings.
- Look for the option labeled Switch Phone.
- Toggle the setting to switch from WebRTC to PSTN.
Be aware that your PSTN phone is a remote phone that your administrator first sets up in Genesys Cloud. It is not assigned to your user, so the search can show the PSTN phones of your colleagues too. Always select the phone with the name your administrator gave you. If you don't know the name, contact your administrator.
With PSTN, your calls are routed over your mobile carrier (SIM card), using your standard cellular voice connection. For outbound calls, Genesys Cloud first calls you on your mobile phone. You always see the same number calling you, regardless of who you're calling. Once you answer, we connect you to the person you're calling. Inbound calls come in as a regular phone call instead of a Mobile Office call.
Related Article: Alternative for bad internet connection: understanding PSTN Calling
3. Queues#
- Set your default outbound queue to define the number displayed when you make outbound calls, SMS or WhatsApp
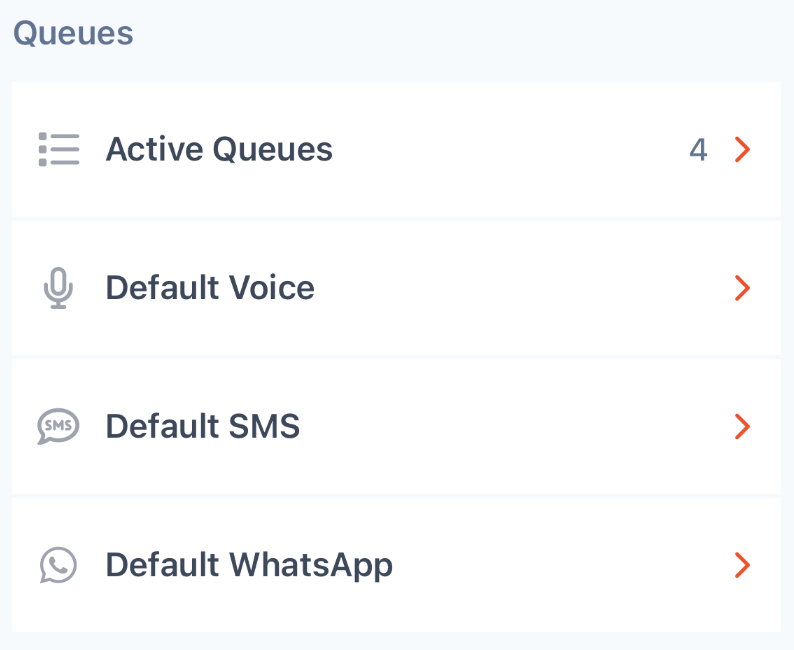
Note: This helps ensure consistency in your caller ID and team routing.
4. Feedback, Permissions, Language, Appearance and Info#
4.1 Feedback#
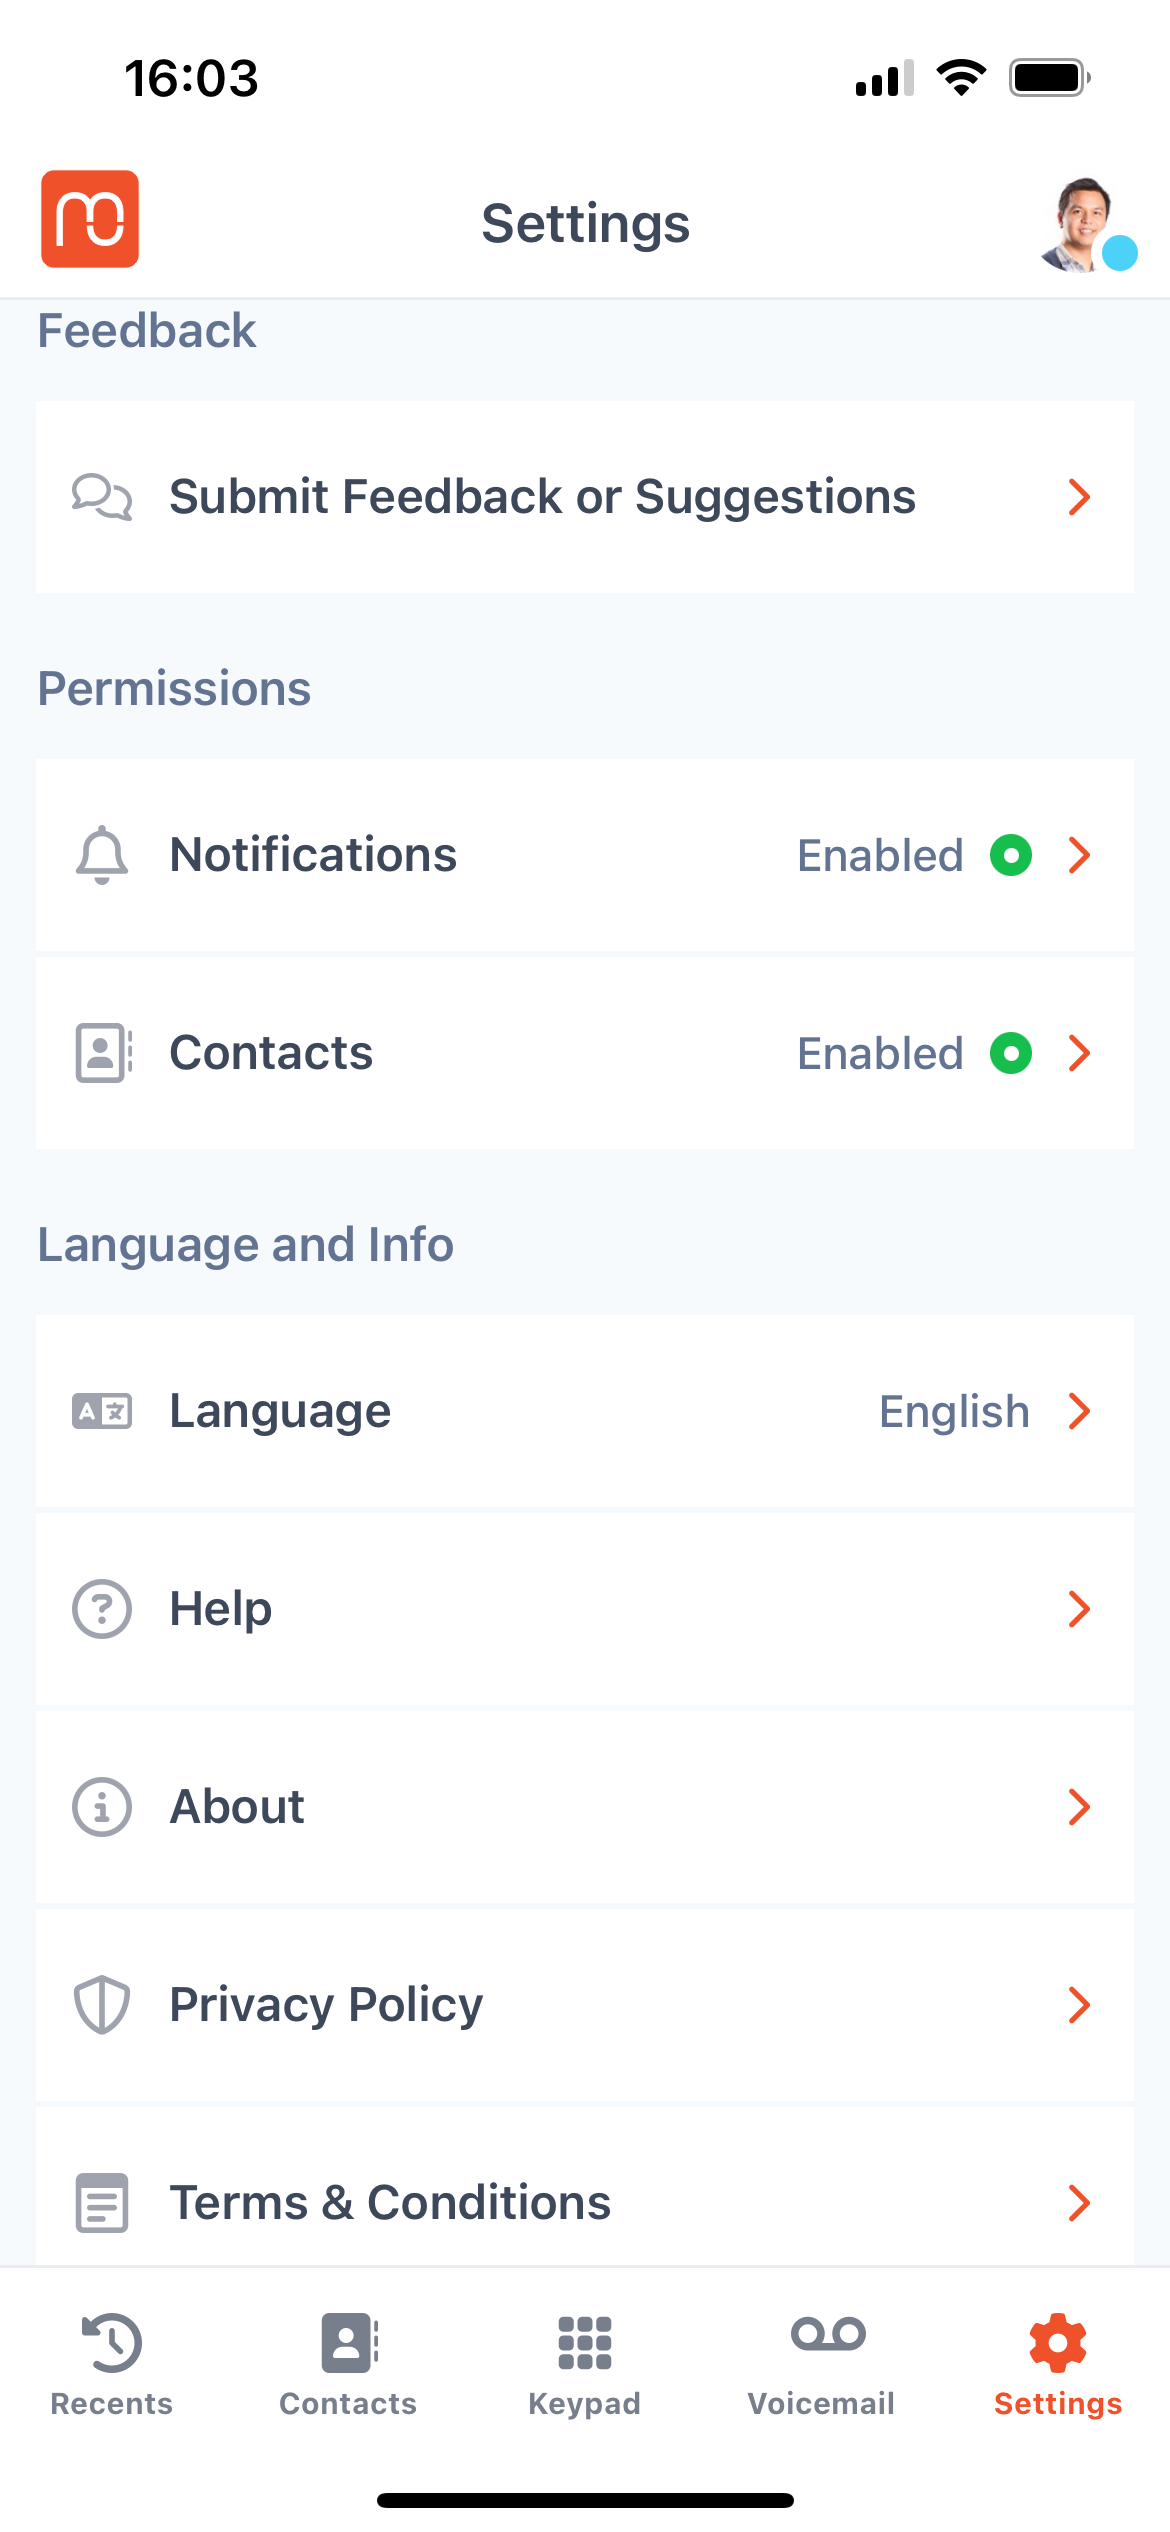
If you'd like to send feedback or suggestions to the Mobile Office team, use this feature
4.2 Permissions for Microphone#
When using the Mobile Office for Genesys app, allowing microphone access is essential for making and receiving calls. The app relies on your phone’s microphone to transmit your voice during WebRTC (internet-based) calls.
If microphone access is denied, you won't be heard on calls — even if the call connects successfully.
4.3 Permissions for Notifications#
When you first log in to Mobile Office for Genesys, the app will prompt you to allow notifications. This ensures you receive important alerts like:
- Incoming calls or Messages
- New voicemails
- Missed call reminders
- System messages
Tip: If you accidentally denied access, you can easily re-enable it from your phone's settings.
Note: Without notifications, you might miss:
- Time-sensitive customer calls
- Follow-up voicemails
- Queue alerts or callback requests
4.4 Permissions for Contacts#
Upon your first login to Mobile Office for Genesys, the app will ask for permission to access your contacts. This lets the app:
- Display names instead of just phone numbers
- Allow you to call or message saved contacts
- Sync with contacts for easier call management
4.5 Language and Info#
- Set your preferred language and adjust formatting for time, date, and phone numbers.
4.6 Light and dark mode#
You are able to switch the app between light and dark mode in your settings.
4.7 Log-out#
- View your logged-in profile and log out or switch accounts if necessary.
- Tip: If you experience any issues with Mobile Office, logging out and back in most of the time helps rather than deleting and reinstalling the application.